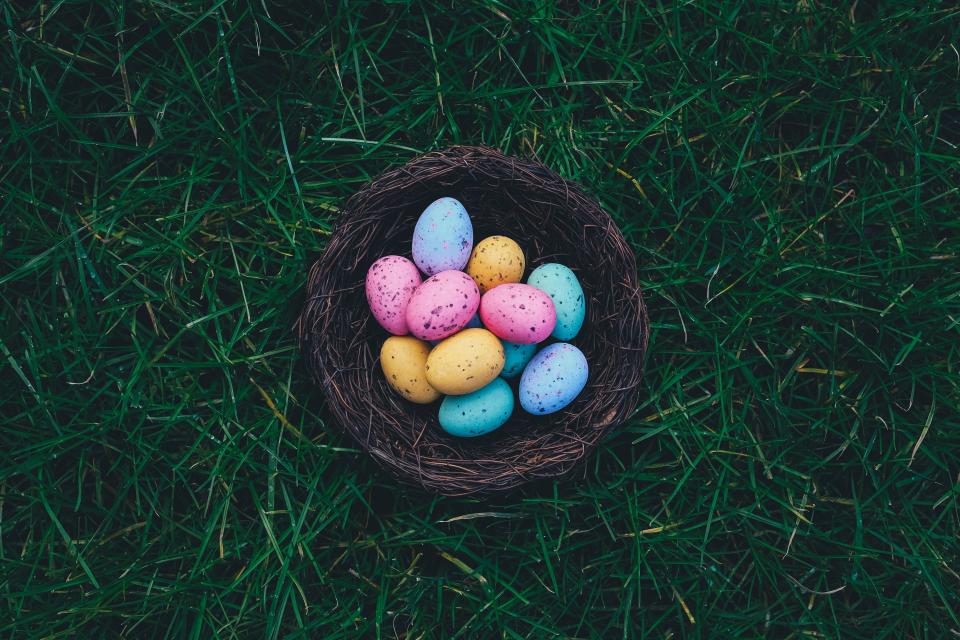
These eggs are really beautiful in my opinion – and still completely natural. You can try with other colours (natural like beetroot or conventional from the supermarket) as well, but from my experience this version works best.
You need:
- Eggs (colour doesn’t matter – works with brown eggs too)
- Onion skins (as much as possible, just collect them over several days /weeks) of any colour, dry
- Herbs and small leaves with interesting shapes from the garden or park
- Old nylons (tights or socks, doesn’t matter)
- String & scissors
- A big pot
- Vinegar to clean the eggs and (optionally) oil to polish them
Cut the nylons apart in small pieces so that you can wrap the eggs in them completely. Clean the eggs with vinegar and a piece of kitchen roll. Put the onion skins in the pot with hot water and start heating it. Meanwhile take the eggs and put the leaves on them: put one leave on the egg, take a nylon piece and put in on top of the leaf, so that the leaf is pressed tightly onto the egg. Wrap the nylon around the egg completely and tie it firmly at the back (leaf on one side of the egg, knot on the other side) either by making a knot with the nylon or tying it together with a piece of string. If the leaf got messed up a bit try to put it back in place with a toothpick. The shape of the leaf will remain in the colour of the egg while the rest of the egg will get coloured by the onion skins. Thus the more interesting the shape of the leaf, the nicer the finished egg. However, if the leaf is too fine it might not work well – just try and you’ll find out how it works best.
Now once you prepared all the eggs with leaves and nylons put them into the boiling water with the onion skins. Let them boil for about 10 minutes, take them out, let them dry for a while and then cut off the nylons and be surprised about how nice they look :).
If you want you can polish the eggs with a little bit of oil and a piece of kitchen roll.
Good luck & enjoy – and send me a picture! :)
------
Meiner Meinung nach die schönsten Ostereier überhaupt- und total natürlich. Ihr könnt auch andere Farben (natürliche z.B. aus Roten Rüben oder konventionelle aus dem Supermarkt) ausprobieren, meiner Erfahrung nach funktioniert aber das hier am besten:
Du brauchst:
- Eier (die Farbe ist egal, auch braune Eier funktionieren gut)
- Zwiebelschalen (so viele wie möglich – sammle einfach ein paar tage oder Wochen lang), egal welche Farbe, trocken
- Kleine Blätter oder Blätter von Kräutern aus dem Garten oder Park
- Alte Nylonstrümpfe oder –strumpfhosen
- Faden und Schere
- Einen großen Topf
- Essig um die Eier zu säubern und (optional) etwas Öl um sie zu polieren
Zerschneide die Nylonstrümpfe in Stücke, sodass danach je ein Ei komplett von einem Stück umwickelt werden kann. Putze die Eier mit etwas Essig und einem Stück Küchenrolle (damit die Farbe besser hält). Setze die Zwiebelschalen in einem Topf mit Wasser auf den Herd und beginne das Wasser zum Kochen zu bringen. Inzwischen kannst du beginnen die Eier herzurichten: Nimm ein Ei und lege ein Blatt darauf. Dann leg den Nylonstrumpf über das Blatt und wickle das ganze Ei darin ein. Binde das Nylonstückchen auf der „Hinterseite“ (dort wo kein Blatt ist) fest zusammen, entweder indem du einen Knoten in den Strumpf machst oder indem du ihn mit einem Stück Schnur zusammenbindest. Achte darauf, dass das Nylonstückchen wirklich fest um das Ei gewickelt ist und das Blatt fest ans Ei presst. Wenn die Eier fertig gekocht sind bleibt der Abdruck des Blattes am Ei ungefärbt zurück während das restliche Ei die Farbe der Zwiebelschalen annimmt. Daher ist es am besten, ein interessant geformtes Blatt zu verwenden – zu feingliedrige Blätter klappen hingegen auch nicht optimal – probier‘ einfach ein bisschen aus was funktioniert!
Nachdem du alle Eier vorbereitet hast gib sie in das kochende Zwiebelschalen-Wasser und koche sie für etwa 10 Minuten. Herausholen, trocknen lassen und – wenn du möchtest – mit etwas Öl und einem Stück Küchenrolle glänzend polieren.
Viel Glück, viel Spaß – und schick mir ein Foto! :)